Top 6 Tips for Taking Better Beach, River or Lake Photos Over Mother's Day
May 08, 2020
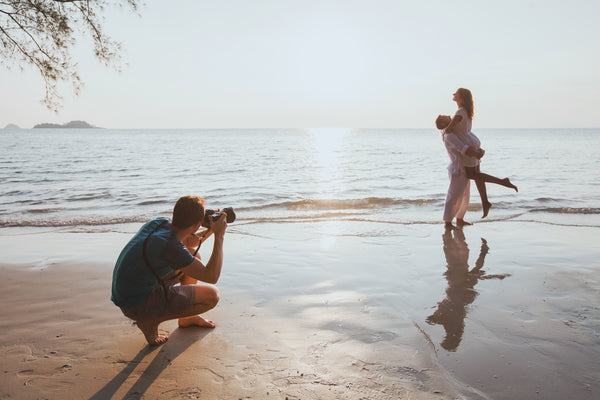
Now that the quarantine is being partially lifted over Mother's Day weekend, people are heading back to their favorite waterways (beaches, rivers or lakes). Taking photos at the water, during midday can bring out harsh shadows and highlights that typically are present in bright, watery settings. I felt revisiting this quick tutorial would be super helpful.
1. Understand Your Camera Better
It's fairly easy to take fun photos and portraits at the water using any camera. If you're using your smartphone, put it on "Portrait" mode for sharper portraits. It will blur the background out and make your subject appear sharper. This should be used for 1-2 people max. "Photo" mode is great if you are taking group photos or landscapes.
If you're using your DSLR, to make this tutorial shorter, please check out “Understanding Your Basic Camera Controls Better!” and “10 Tips to Get The Best Results From Your Digital SLR Camera.”
I've also included a Cheat Sheet on Shutter Speed, Aperture and ISO. Click the image for a FREE DOWNLOAD to keep with you.

2. Use a reflector
I say this in every tutorial, because it's very important. A hand-held reflector can help reflect light from the sun, and bounce it back onto your poorly lit subject. This is great when your subject has their back to the sun and appear dark and in shadows. It can also deflect light by holding it over your subject's head to block out the bright sun on their head.
It's also one of the most portable lighting accessory you can own for under $20. Because it's foldable and lightweight, a reflector is one of the best things you can bring to the water to help with your photography.


For my wonderful readers, I've made it easy. I have reflectors for purchase on my website for under $20. Click the Images to take you immediately to where they can be bought.
The first one above is a 12" Reflector that is a 2 in 1. That means it has two sides for use. The Silver side you use for every day reflecting. It gives you a cooler effect on your subject. The Gold side you use for a warming effect. It can mimic the setting sun on your subject, similar to the golden hour . It's only $9.99.
The second reflector is a 5 in 1, where it gives you lots of options for using the reflector to bounce, deflect and block the light. It's only $19.00.
3. Use Internal Flash
When it's too bright or sunny, flash can be your best friend especially if you are shooting portraits on the beach, river or lake. Flash can fill in the dark areas on your subject. It can also even out lighting and avoid overly bright or dark areas that may become too difficult to repair during editing.
Many cameras offer internal flash with a variety of options allowing you to mix flash with natural light which produces very pleasant results. Each camera is different, so I suggest you look at your camera's manual, or check out Youtube for some great tutorials on your camera's flash settings.
I would suggest only using external flash as a last resort, because they are expensive and you can ruin them near the beach or water. I think using your reflector and internal flash are your first, best choices. Save your external flash for days where you're not near water, or for professional events. I've destroyed more flashes at the beach, then any other piece of equipment. And good ones cost about $700-$900 a piece. Similar to the one pictured below.

4. Shoot in the late afternoons
If you want to avoid sharp shadows and highlights, especially if your location has no shade, shooting in the late afternoons is a perfect idea. Most beaches are just stretches of sand or water and they can be bright during the day. Shooting in the late afternoons can give you soft, even, natural light for better exposure.

5. Shoot in Black and White
The stark contrast you get during sunny days can actually help you take the best black and white photos. In most cases, your camera will render the water or grass in a deep shade of gray, making it the perfect background for dramatic black and white shots.

6. Frame your shots
Creative framing can help you take interesting shots that will add variety to your photos. Use a palm leaf to frame a subject, or the holes in a piece of driftwood to frame your subjects head. Have fun looking for framing options because you won't run out of them when you're outside having fun.


The water is a great place to go for Mother's Day. But, even if you're not near water this hot weekend, these tips should be very helpful in getting you some very nice family and/or landscape photos wherever you go!!
Mother's Day Roses Collection:
Don't forget to check out my Mother's Day Roses Collection. Instead of buying Roses which ultimately die, why not give her Roses she can wear, use or enjoy all year long. To check out the entire Roses Inspired Collection, click the image below:

Happy Mother's Day to all the wonderful women out there who love and care for their families every single day! May you have a blessed weekend and stay safe out there! If you found this tutorial helpful, please share it! I really enjoy giving these tutorials for free every week and hope you do too!!!
To receive future tutorials or newsletters, simply click here: http://eepurl.com/g0P4Eb.