The Amazing World of Night Photography
Aug 20, 2021
Night photography is a subject many people shy away from, but there are some truly fantastic opportunities for pictures when the sun goes down. Some photographers worry night photography is only possible with special equipment, but that's not true at all. If you have a camera, you can capture some great night shots. With a creative approach, you can produce amazing shots with very basic equipment or even a smartphone. And you don't have to travel anywhere unique to capture it - your backyard will do.

I assume you have a camera, but if you don't have a tripod yet, there are several on Amazon. Fitting your camera to a tripod means you can take very long exposures without the image blurring. Using a tripod means you can capture the movement of traffic as light trails, and these make fantastic shots. Because it's very important to have one if you want to do night photography. The foundation for any great picture is the LIGHT. It can be artificial light, moonlight (like in the picture below), or ambient light from the atmosphere just after sunset.
I took this with my basic Nikon D3400 (a $350 camera) and a tripod. I waited until the moon came out to give the Joshua Tree illumination and light up the sky, which was covered in beautiful clouds from the sun set. This was in my daughter's backyard with the grandkids running around.
In hindsight, I would have brought a reflector with me. With a reflector, I could have bounced the bright moonlight back into the face of the tree and made the tree more visible. But, I love the silouette effect that ultimately resulted. If you enjoy this image, prints start as low as $25. You can buy prints or products here for as low as $25. Click the link to take you the Collection.
City skylines are an obvious choice for night photography, and these are a great place to start. Modern cities are lit with a variety of colors, and they take on a different atmosphere as the sun sets. The lights from shops, offices and restaurants can be incorporated to capture a city in a new and exciting ways.
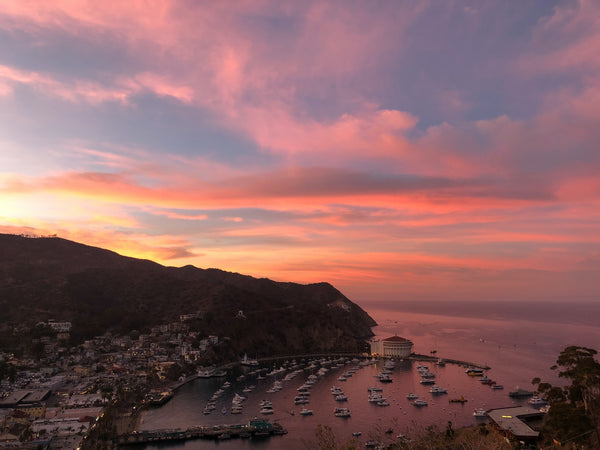
It’s important to consider the time of day when taking this type of photograph, and a mix of daylight and artificial light works really well. Rather than waiting until it’s completely dark, experiment with some shots at dusk. The ambient light around sunset mixed with the artificial lights from buildings can produce amazing photographs.
This image was taken at the top of Victoria's Peak on a hilltop on the western half of Hong Kong Island. It is also known as Mount Austin, and locally known as "The Peak." With an elevation of 552 m, it is the highest hill on Hong Kong island. It gives stunning views. The sun had just started to set and a storm was passing over me. I used my Nikon and a tripod. If you like this image, prints start as low as $25. Prints and other products can be bought by clicking the images below or here:
Using a DSLR is like driving a car with three (3) steering wheels. Like a car, the more you use it, the more you start to understand how everything works. Because of the additional fine-tuning you can do with a DSLR, it's the ideal choice for night photography.

If you want to learn more about how to be a better photographer, I've written a Beginner's Book (for digital download). I take you through the basics of the exposure triangle (above) and simplify it for you. Many of the most basic photography terms can be off-putting for a beginner. This book covers those fundamentals in a quick, and easy manner. Click here or the image to purchase for only $49.

The flexibility to adjust the camera’s settings manually gives you more creative choices. Longer exposure times and wide apertures are needed for night shots, and a DSLR’s settings can be changed to select these. If you are using a DSLR camera, work with wide-angle lenses or zooms which allow you to take wide shots. These lenses are generally faster, and allow more light to enter the camera’s sensor.
Smartphones are another option, and they can produce great night shots with a little creativity and planning. If using a more basic camera, experiment using a flashlight, lamp or reflector to light the foreground of your shot.
Whatever camera you're using, it’s important to experiment and take lots of shots at different settings. DON'T FORGET, look at shots on the camera’s screen as you take them, and adjust the exposure settings if pictures appear too dark. I hope you've enjoyed this free tutorial.
AUTHOR
Tracy Heschong-McCrackin is an award-winning writer and photographer, who has had her work recognized across the country. Several of her images have been Editor Favorites at NatGeoYourShot. She started her photography studio 20 years ago and specialized in portraits, landscapes and commercial photography. Tracy draws much of her inspiration from her travels. She has a passion for investigating off the beaten path locations, cultures and individuals. It is those moments of exploration that her creativity is ignited and much of her artwork is born. She is an Artist, Photographer, Designer and Blogger. In her spare time she volunteers for the Red Cross. Her Gallery can be found at: www.tracymccrackin.com. You can also follow her on social media by clicking any of the links below:


